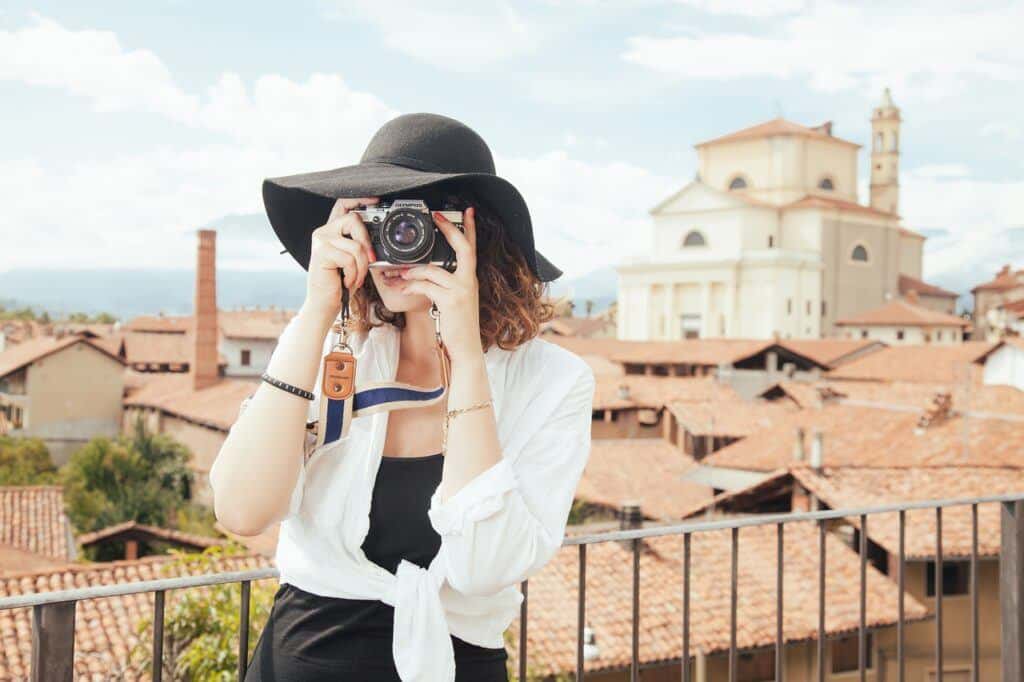
You are back from a successful trip. You are going through your photos and realize they need a little touch to stand out. This is the point where you need some photo editing skills and tips. You may want to submit some photos to a blog or a local magazine, sending to family and friends or just print and showcase them on the walls.
Regardless of the reason, it is essential to edit your travel pictures to increase the quality and add some additional elements. You should know that travel photography cannot be treated the same way as wedding or portrait photos. They include lots of natural elements like sunlight, rain and wind. Therefore, you will edit them differently from the indoor or studio photos.
You have good travel pictures that need a little work to perfection. Take a look at the below tips to turn your pictures from good to great.
Removing unwanted objects or background
You need a transparent background if your photos have many unwanted elements or backgrounds like bushes, poles, birds, and other items. These things will distract the viewer from focusing on the main object. Use some of the many free online tools to erase or remove unwanted elements.
You can fine-tune your photos by adjusting feathers, the brushes and opacity.
Straighten/crop
There is nothing worse in your photos than crooked horizontal lines. Unless the tilt was made intentionally, you must rectify the mistake. Ensure you quickly scan your photos to see if the horizon is straight. Crop or straighten the edges to make your travel photos look professional.
Adjust black and white if needed
You may have taken some photos in a hurry, so you didn’t have time to set the exposure right. It can be as a result of being distracted or moving. This will lead to a shot that is not to your quality standard. Adjust the black and white to make everything look normal and a bit professional.
Add contrast
You will have something nice when you add a little punch and drama to your travel photos, especially those taken in urban areas. Play with the contrast bar to add flairs to your images. You can darken the darker parts and lighten the light parts to bring contrast to your pictures. The colors will look a little richer, light parts lighter and dark areas a little darker.
Adjust image exposure as needed
The exposure of your photos will depend mainly on the use of the photo and the brand aesthetics. Some people may go with overexposed images of 90%, while others have 70%.
Consider the light, bright, airy look your images may get when adjusting the exposure. Set some exceptions when setting exposure. For example, don’t overexpose landscape photos, especially ones with dramatic sky.
Adjust the temperature
You can use an AWB (auto white balance) for your photos. If you are lucky to have a fine camera that can accurately judge the scene’s temperature, then the auto white balance setting is the simplest when determining the final image temperature. Make minor temperature adjustments except for sunset or sunrise images.
Apply some filters
Adding filters is the easiest way to enhance the look of your travel photos. Filters can be used to make some adjustments, for example, increasing the contrast, sharpening the photo, or adding some grain.
You can use some of the many free online tools to add filters to your photos. Or you can use some of the many phone apps.
Add some vignetting
Vignetting is the darkening of the corners of an image. It gives your photos some finishing touches and makes them look a little more polished.
There are many ways to add vignetting to your photos. You can use some of the many free online tools or phone apps.
These are some of the photo editing tips you can use to make your travel photos look great. Use some of the many free online tools or phone apps to make the necessary adjustments.
